Author:
Lutz Pietschker
Version: 2011-03-01
Paper Modelling | Home Page | Links | What's New
This is a technique I use when creating "counters" for games. It is not really a paper modelling task, but closely related.
Get good-quality cardboard of 1 to 1.5 mm thickness. I have used "glued grey cardboard" to good effect, but also the lighter "Finnboard" (wood pulp cardboard, similar to beer mats).
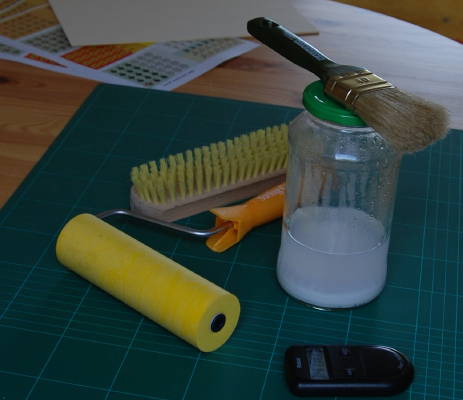
Get bookbinder's glue or heavy-duty wallpaper glue. If using the latter, give it time to settle, it should be clear and without any lumps.
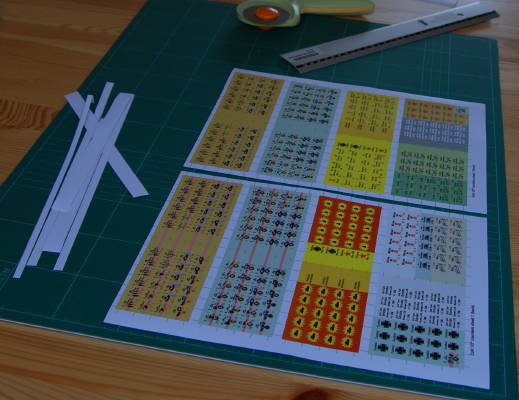
Print the counter sheets on a laser printer, if possible. Laser-printed sheets have a far more durable surface than inkjet-printed ones. Use good paper, for example a good 110 g/square metre quality.
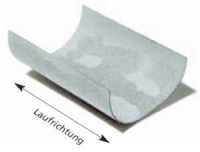
By the book (*), you should check the direction of the fibres in the paper and the cardboard ("Laufrichtung" in German) and see to it that the laminating paper and the cardboard core have fibres that run in the same direction. My experience is that this is important for the laminating paper, but in my example (mounting counters) the front and back sheets automatically have the same orientation. The fibre orientation in the cardboard is less important, or rather, there are types of cardbord that are constructed like plywood and are pretty resistent against warping.
To check fibre orientation, cut a square piece of each material (take a note of how that square was positioned in the original sheet...) and drop a bit of water on it. The material will warp and form a "trough"; the fibres are oriented parallel to the bottom of that trough. The
Modulor website
has some pretty good information about paper and cardboard handling, though it seems that the technical information is available only in German.
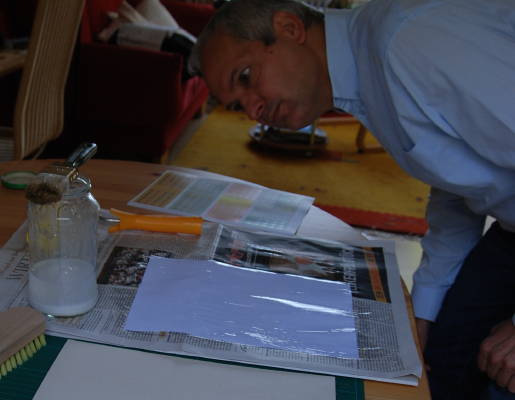
The tools and material you need (plus a newspaper or two, some heavy books, and some cloth):
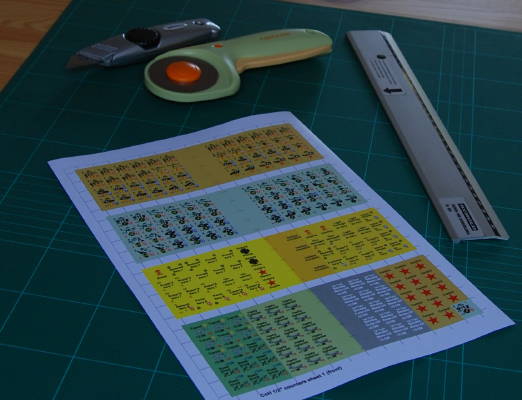
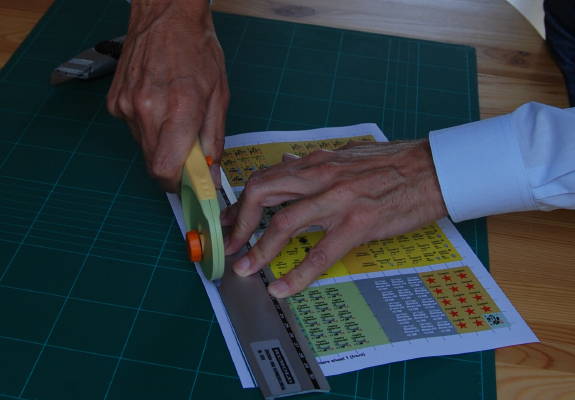
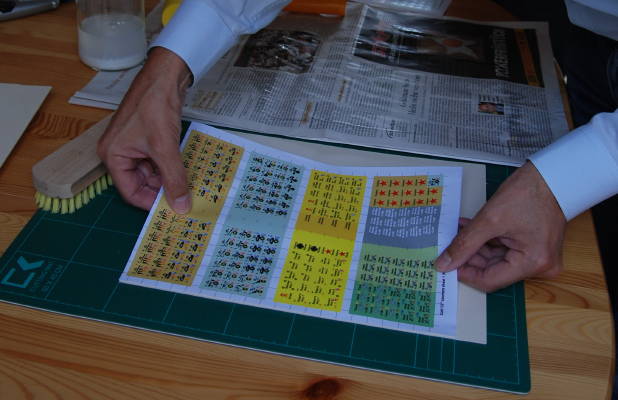
Cut two edges of the printed sheets to get a reference line for matching front and back sides. Cut along lines with the same distance to the printed geometry. This is necessary because office printers do not position the output reliably on the paper, for example the sheet may be rotated slightly or the margins are not exactly the same.
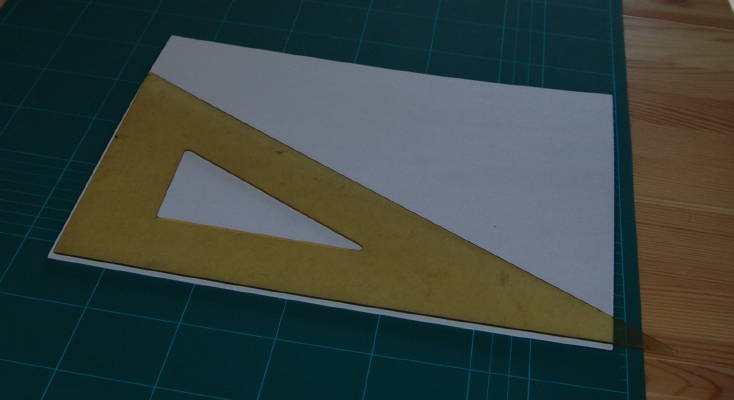
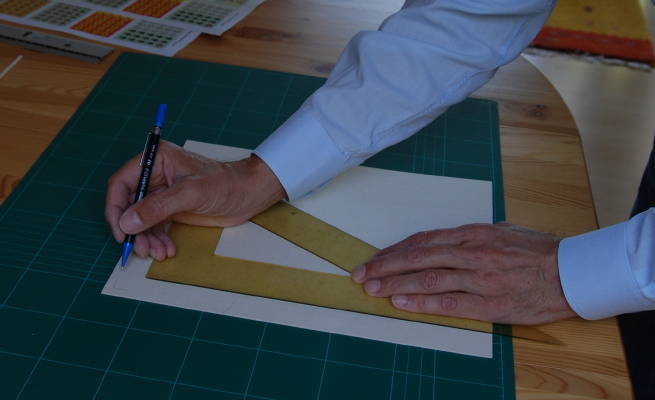
Check the cardboard to make sure two edges are exactly rectangular to each other. The cut edges of the counter sheets (see above) will be matched to these edges. If you are like me, mark the corner you want to use on both sides of the cardboard.
Apply glue to the back side of the front counter sheet. Take care not to apply glue to the front side. Let the glue settle (rest) for three to five minutes. Take this time with a stopwatch or kitchen timer!
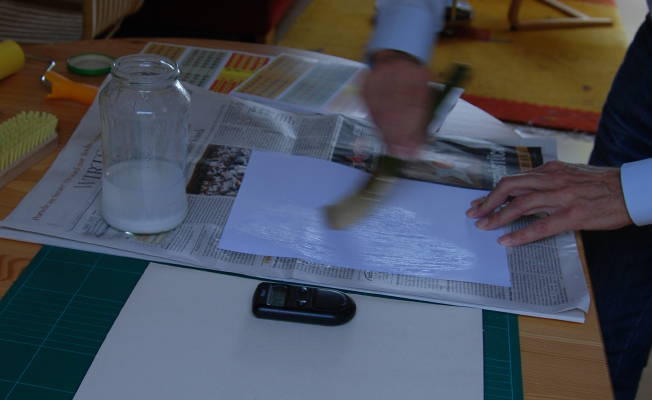
Check for dry spots and re-apply glue where necessary, then immediately...
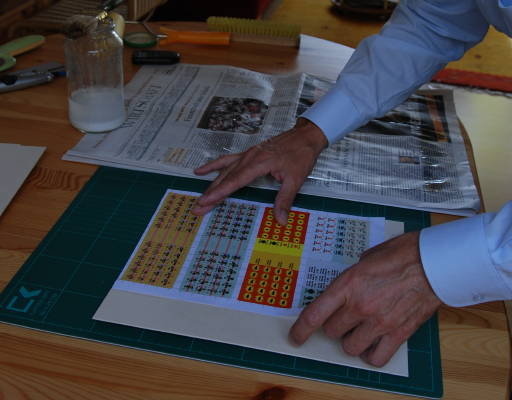
...position the sheet on the cardboard. The two cut edges should match the two rectangular cardboard edges exactly.
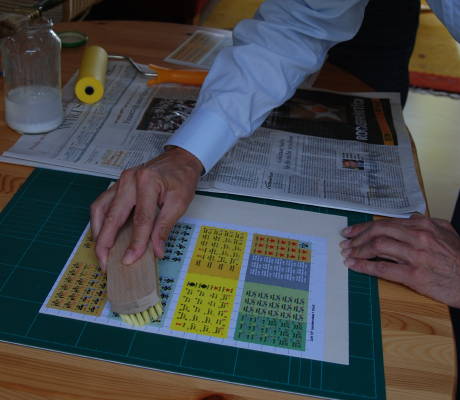
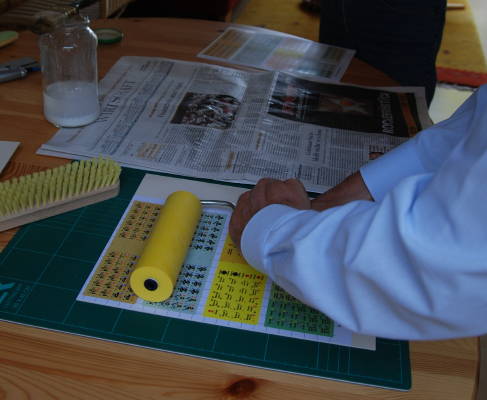
Fix with a soft brush and press with a firm rubber roller.
Repeat these steps for the back sheet. The most important point is that the time from applying the glue to beginning to position it is exactly the same for both sides. This is important because the paper "grows" when the glue soaks the fibres, and it shrinks again when drying. If front and back do not grow/shrink by the same amount, the cardboard warps. The forces exacted by the drying paper are enormous!
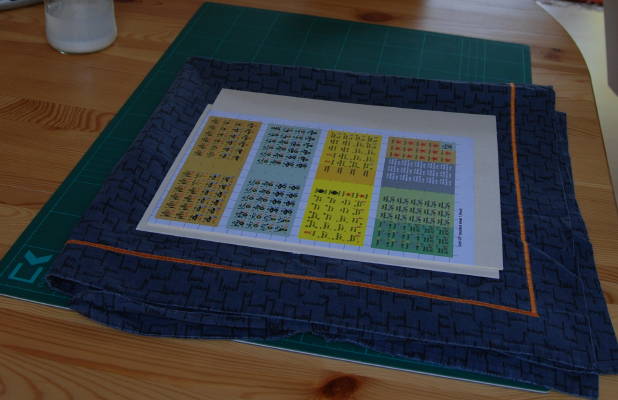
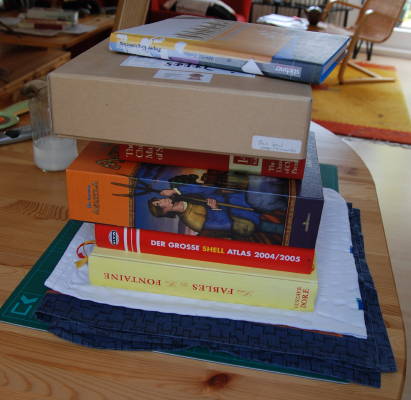
Find a flat, hard surface, put a cloth on it (kitchen towel or so... well, ideal would be a piece of thick, hard felt... in the image I use an old pillowcase), a cardboard on top of that, the mounted counter sheets on top, then another cardboard and another cloth, and apply pressure. Use books, heavy games etc., whatever comes handy, but see to it that the pressure is applied equally to the complete glued surface. The cardboard and cloth transport the moisture outside and allow the glue to actually dry.
Let it dry. This may take a day or two.
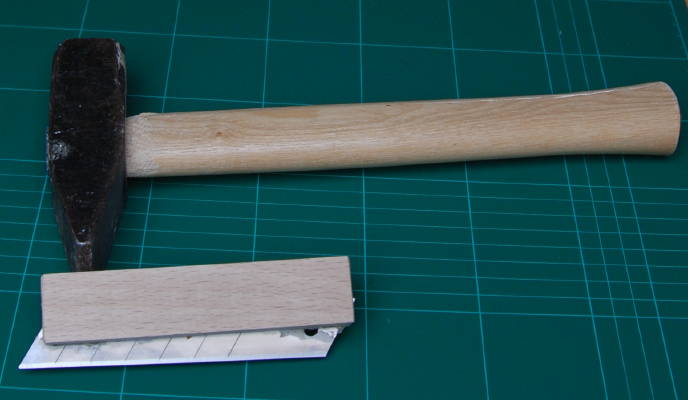
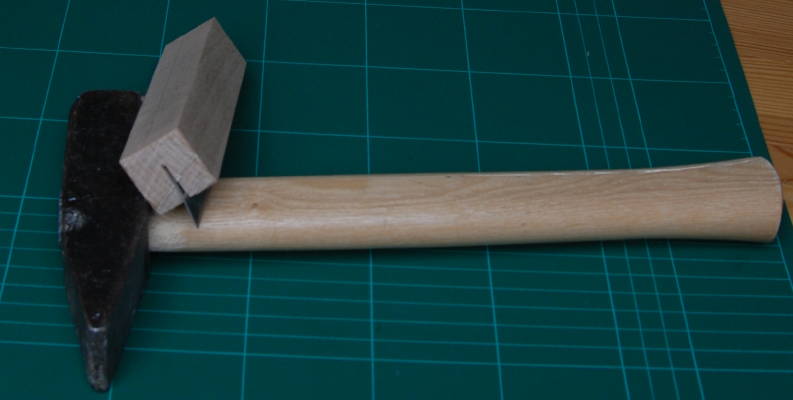
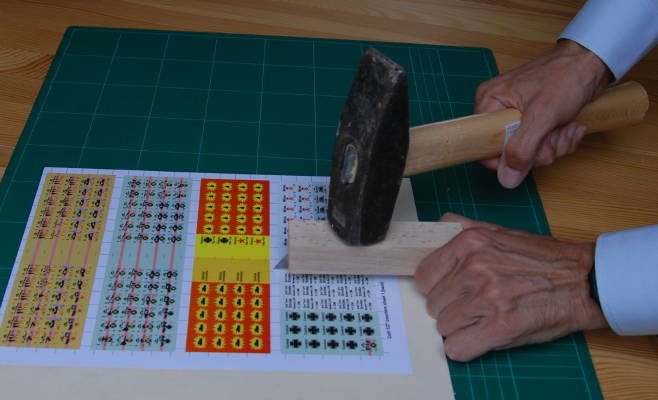
You can use a punch if you have one, you can improvise one if you don't. The improvised punch shown here is made from a break-off cutter blade and a hardwood block, the slit was applied with a saw. To cut, place the blade on the counter sheet and punch with a few hammer blows. This is primitive to the point of disgusting, but it worked... sort of. The rotary knife (see below) is a lot faster and, in my opinion, better. And it makes less noise.
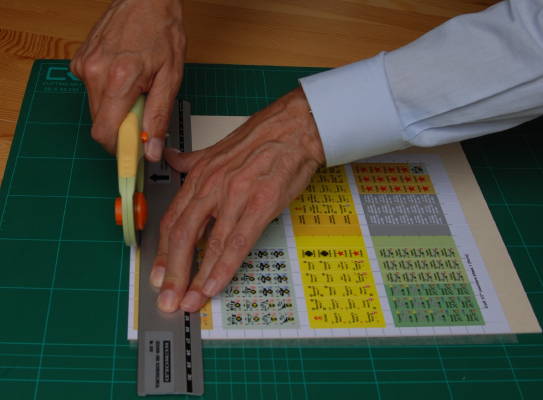
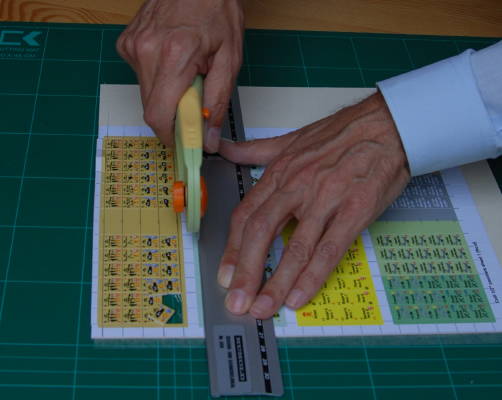
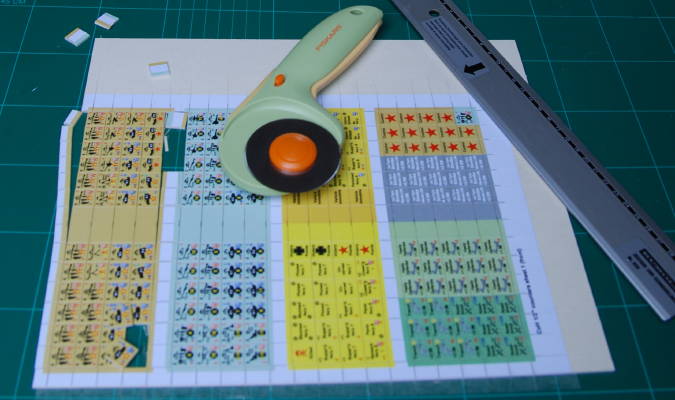
Ok, end of joke, cut this with a rotary knife. Use a cutting mat to go easy on the blade. It helps if you fix the sheet on the cutting mat before making the first cuts; use double-sided adhesive tape and apply perpendicular to the first cut direction you are going to do. This prevents the resulting strips from separating when cut.

Trim, clip and admire.

* "The book" is "Schachtel, Mappe, Bucheinband: Die Grundlagen des Buchbindens für alle, die dieses Handwerk schätzen: Für Werklehrer, Fachleute und Liebhaber" by Franz Zeier, published by Paul Haupt, Bern, ISBN 978-3258051475. The rather longish title translates to "box, folder, book cover: the basics of bookbinding for all who value this craft: for craftsmen, experts and teachers". Highly recommended if you can read German; I do not know whether there is an English edition available.
As the author of this page I take no expressed or implied responsibility for the content of external links; opinions expressed on such pages are not necessarily mine. The web space provider is not responsible for the contents of this page or any linked pages.
Written and published by Lutz Pietschker. Please send comments about technical problems to the
site master.
-Made with a Mac!-
, last change 2011-03-12